
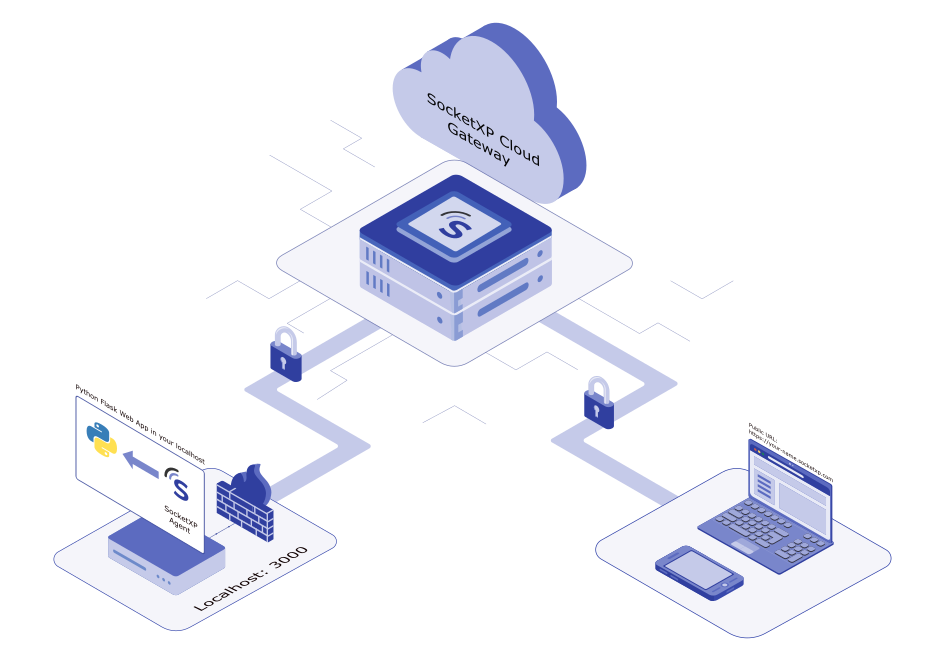
SocketXP takes a simpler route: your device opens an outbound, encrypted connection to SocketXP’s cloud gateway, which then hands you back a permanent HTTPS URL. No open ports, no static IP, nothing to configure on your router.
This guide walks through setting it up for Node.js, Flask, Java, Golang, WebSocket, NGINX, file servers, API gateways, and Node-RED, and closes with a quick security checklist before you go live.
Internet of Things (IoT) development has moved well past hobby projects. Node.js, Flask, and Java based dashboards now run production workloads on gateways, edge boxes, and Raspberry Pi fleets, everywhere from farms to factory floors. Almost all of these devices share the same problem: they sit behind a NAT router or corporate firewall, so nobody outside the local network can reach them.
Secure remote access to that IoT web app matters to three groups in particular:
- End users who need to control a device from a browser or mobile app while away from the local network.
- Field service and support teams who must log into a device installed at a customer site to debug an issue.
- Product and DevOps teams who need visibility into fleets of deployed devices without sending a technician on-site.
This guide walks through how to remotely access the following types of IoT web applications, running behind NAT or a firewall, using SocketXP’s IoT Remote Access Solution, without port forwarding, static IPs, or VPN configuration.
- NodeJS Web App Remote Access
- Python Flask Web App Remote Access
- Golang Web Server App Remote Access
- Websocket Server Remote Access
- File Server Web App Remote Access
- NGINX Web Server Remote Access
- Java Web Server App Remote Access
- API Gateway Server Remote Access
- Node-RED server dashboard Remote Access
Whether you’re a coding enthusiast, a DIY tinkerer, or just curious about building web applications for IoT and accessing them remotely, this guide will walk you through, step by step, how to connect to a web app running on your IoT device over the internet.
So, let’s dive in.
Port Forwarding vs. Secure Reverse Tunnels
Traditionally, teams solved remote access with one of three approaches:
| Approach | Downside |
|---|---|
| Port forwarding on the router | Opens an inbound port to the internet, a common attack surface; doesn’t work behind CGNAT or mobile networks |
| Static public IP plus domain | Costs money, needs ISP support, adds ongoing DNS and certificate management |
| Full VPN | Heavy to deploy across thousands of edge devices, a poor fit for a single web dashboard |
The modern, zero-trust aligned approach is an outbound-only, encrypted reverse tunnel. The IoT device initiates a secure connection out to a cloud gateway, and that gateway issues a permanent HTTPS URL for the app. No inbound firewall rule, no exposed port, no static IP required. That’s the method used throughout this guide.
Want Your IoT Web App Online in Minutes?
No firewall changes, no static IP needed. Get a secure public URL for any IoT web app.
Remotely Connect to a NodeJS Web Application in IoT
[Note: We will be using a nodeJS web app as an example for illustration purposes. But our solution should work for any web app written in any language: python, go, java, or .Net]
Let’s assume you have a nodejs webserver application(as shown below), running in your IoT device. Let’s say, the nodejs webserver app listens on localhost port 3000.
$ cat myapp.js
var http = require('http');
//create a server object:
http.createServer(function (req, res) {
 res.writeHead(200, {'Content-Type': 'text/html'});
 res.write("<h2>Hello World!</h2>"); //write a response to the client
 res.end(); //end the response
}).listen(3000); //the server object listens on port 3000
$
We’ll use the above web app to explain how to remote access IoT webserver from the internet.
Now run the myapp.js on your IoT, as shown below.
$ node myapp.js
Open up a browser in your IoT and point to http://localhost:3000 to connect to the local web application.
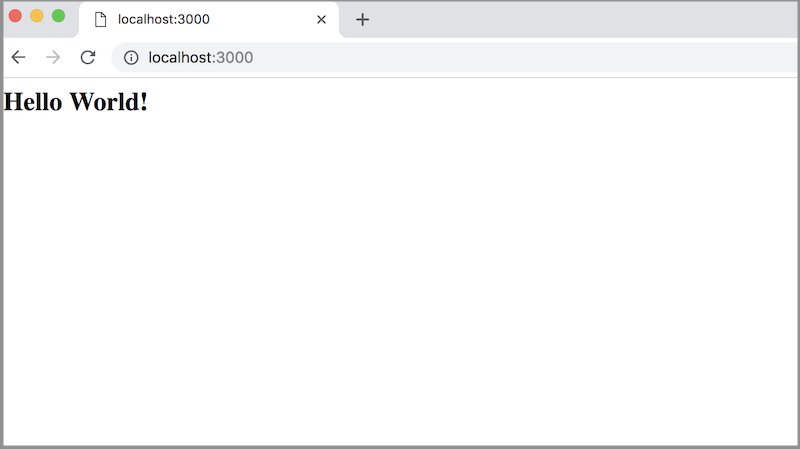
Right now the web application can be accessed only from a local network because it runs on your IoT behind a NAT router or Firewall.
Now to remote access your nodejs webserver application from the internet, follow the instructions below to create a SocketXP HTTPS tunnel and a SocketXP Public Web URL for your nodejs webserver app.
Step 1: Download and Install
Download and install SocketXP IoT agent on your IoT or IoT device.
Step 2: Get your Authentication Token
Sign up at SocketXP Web Portal and get your authentication token.
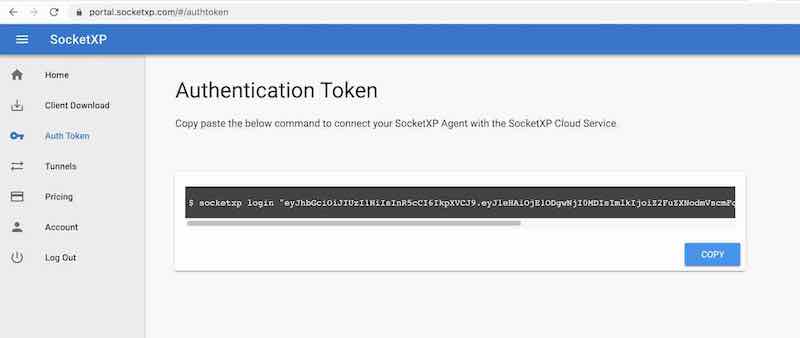
Click the copy button to copy the command string and paste in the terminal window in your laptop or server.
$ socketxp login "eyJhbGciOiJIUzI1NiIsInR5cCI..."
After registering the SocketXP Client with the SocketXP Cloud Service, use the following command to create a secure HTTP proxy tunnel between the nodejs webserver application and the SocketXP Cloud Gateway.
$socketxp connect http://localhost:3000
Public URL -> https://test-user-59129dd68b58.socketxp.com
Let’s access the nodejs webserver application from the internet using the SocketXP Public URL provided in the above output.
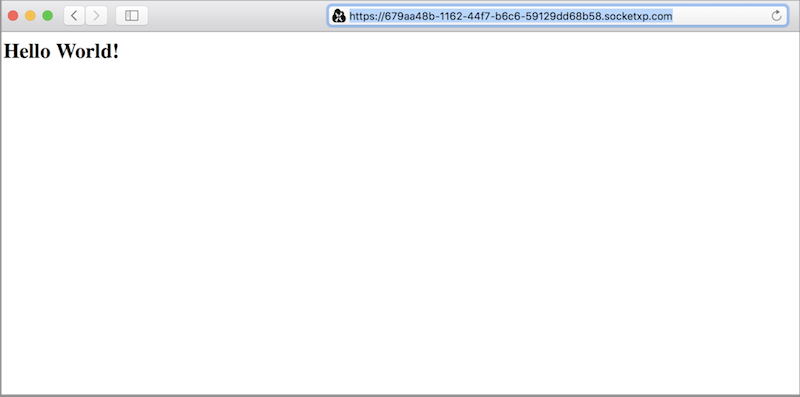
The above SocketXP public URL is a permanent link just assigned to your webserver app and it doesn’t change until you manually delete it from the SocketXP web portal.
Remotely access Python Flask Web App in IoT from Internet
Let’s use the following simple Python flask web application for the demo.
$ cat myapp.py
from flask import Flask
app = Flask(__name__)

@app.route('/')
def hello_world():
    return '<h2>Hello, World!</h2>'

if __name__ == '__main__':
    app.run(host='127.0.0.1', port=3000, debug=True)
Run the myapp.py on a local server or laptop.
$ python myapp.pyUsing a browser, let’s point to http://localhost:3000 to connect to the flask web application.
Right now the flask application can be accessed only from a local network because it runs on your IoT behind a NAT router or Firewall.
Now to make the python flask application accessible from the internet, let’s download and run the SocketXP Client from the download page.
Next authenticate and register the SocketXP Client with the SocketXP Cloud Gateway, using the auth-token from the Portal Page
Click the copy button to copy the command string and paste it in the terminal window in your laptop or server.
$ socketxp login "eyJhbGciOiJIUzI1NiIsInR5cCI6IkpXVCJ9..."
After registering the SocketXP Client with the SocketXP Cloud Service, you could create HTTP proxy tunnel between the application running in your laptop and the SocketXP Cloud Service, via the SocketXP Client.
As our flask app is a web application(HTTP server), let’s create a HTTP proxy tunnel.
Make Python Flask app accessible from Internet
Use the following command to create a HTTP proxy tunnel between the flask web application and the SocketXP Cloud Gateway. This will generate a public web URL. Use the SocketXP public web URL to expose your flask app to the internet.
$socketxp connect http://localhost:3000
Public URL -> https://679aa48b-1162-44f7-b6c6-59129dd68b58.socketxp.com
Let’s access the flask web application from the internet using the SocketXP Public URL provided in the above output.
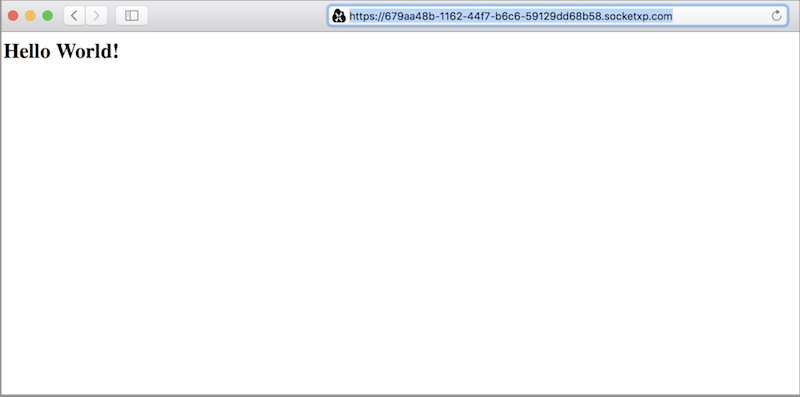
You could use this public URL to integrate with your IoT controller or dashboard or with your mobile app.
Remotely Access File Server Web App
Here is a sample Python Flask web app to remotely access and dowload any file from your IoT
$ cat get_files.py
from flask import Flask, send_from_directory

app = Flask(__name__)

@app.route('/<path:path>')
def send_report(path):
    return send_from_directory('/', path)

if __name__ == '__main__':
    app.run(host='127.0.0.1', port=3000, debug=True)
Use a browser or the curl utility to access any file as long as you know the correct file path:
curl https://679aa48b-1162-44f7-b6c6-59129dd68b58.socketxp.com/var/log/syslog
You can access any static files in your IoT such as logs, images or videos from an on-board camera, configuration files etc.
Remote Access Websocket Server
If you have a websocket server running in your private network or in your IoT device and you want to connect to it remotely using a websocket client app, you could follow this article: How to Remote Access Websocket Server
Security Checklist Before You Go Live
Use HTTPS only public URLs. Never expose a raw HTTP port directly.
Add device level authentication (basic auth, JWT, or session login) on the app itself. A public URL does not replace an app login.
Rotate or delete tunnels you’re no longer using, from the SocketXP portal.
Scope file server routes to specific directories instead of serving the filesystem root.
Enable device grouping and access logs if you’re managing more than a handful of IoT endpoints, so you can audit who accessed what and when.
Conclusion:
Developing web applications for IoT is made easy by using Python and NodeJS.
With SocketXP IoT Remote Access Solution – part of IoT Device Management and Remote Access Platform, it is easy to securely access any web application running in your IoT from any browser on any OS, be it Windows or Mac or Linux.
By following the steps outlined in this article, you can quickly set up remote access to web app running in your IoT and access it from anywhere, anytime.
Whether you’re managing a IoT project remotely or accessing your IoT for troubleshooting or maintenance purposes, web application remote access is a powerful tool that enables you to stay connected to your IoT with ease.